

For six summers, my garden hose lived in a tangled pile by the back steps. Every time I went to water, I'd spend the first five minutes untwisting knots, freeing it from where it had snagged on the wheelbarrow wheel, and working out a kink that always formed in the exact same spot, about eight feet from the nozzle, right where the rubber had started to crack from lying in the sun. My husband Gary tripped over that pile more times than I can count trying to mow around it, and by August the hose was so sun-baked and stiff it barely reached the tomatoes at the far end of the bed. If any of that sounds familiar, a hose that kinks in the same place every time, coils wrong no matter how careful you are, cracks where it bends after a season or two in the sun, you already know exactly the daily aggravation I'm describing.
What actually fixed it for me wasn't a fancier hose. It was mounting a Giraffe Tools Retractable Garden Hose Reel on the wall outside my potting shed two summers ago, and I have not fought a tangled coil since. This is a real, step-by-step walkthrough of exactly how I mounted mine and how I use it every single day, from picking the right spot on the wall to setting the any-length lock so the hose stops precisely where I need it, whether that's fifteen feet from the spigot for the porch pots or all the way out to the back fence, 155 feet away, for the vegetable garden.
Stop Wrestling With a Tangled Hose Before You Even Pick Up a Wrench
A hose reel only solves your tangle problem if it is built to handle full water pressure and years of sun without cracking or jamming. The Giraffe Tools Retractable Garden Hose Reel holds 155 feet of half-inch hose plus a 5 foot leader hose, locks at any length you pull it to, and reels itself back in slowly and evenly instead of snapping back and whipping you in the shins. Mount it once this weekend and you will wonder why you put up with the tangled pile as long as you did.
Amazon Check Today's Price on Amazon →Step 1: Pick a Mounting Spot That Does Half the Work for You
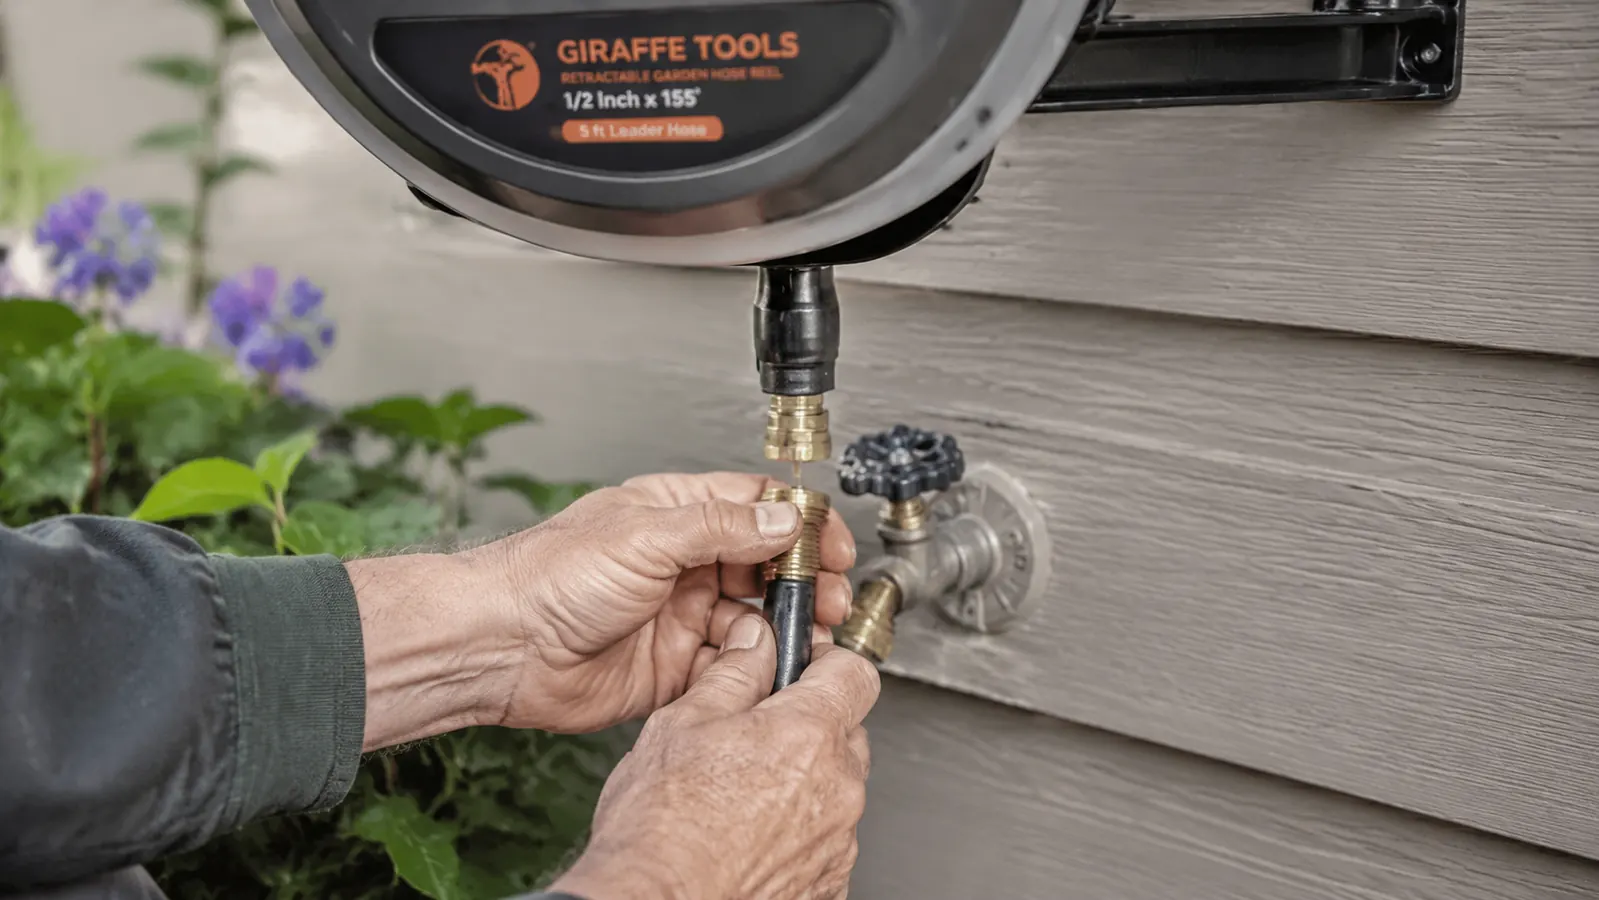
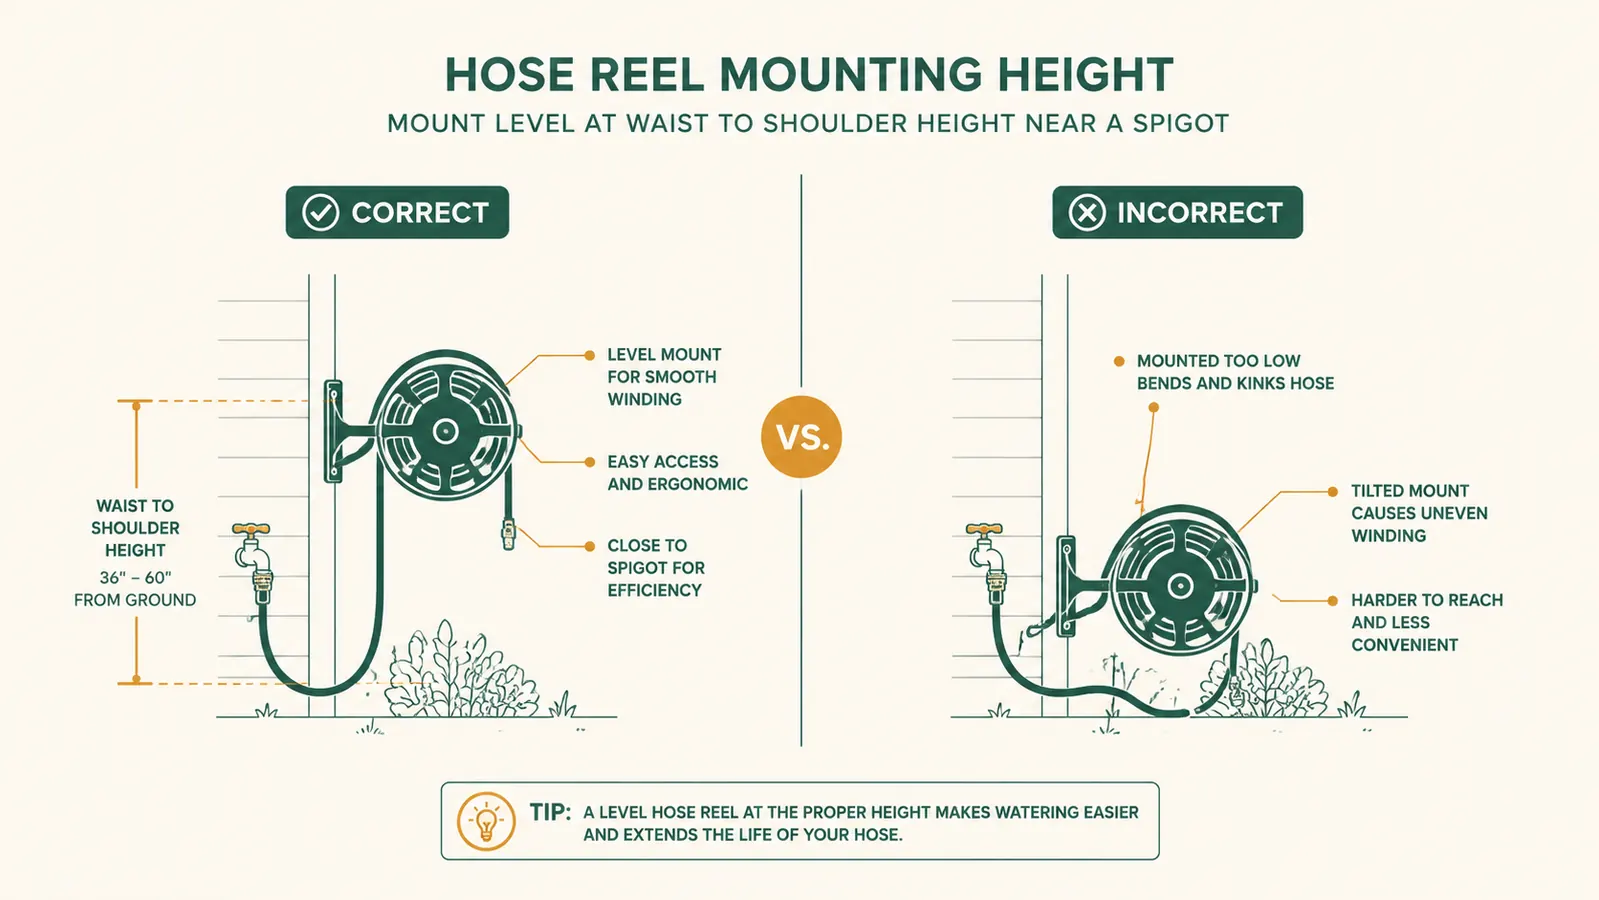
Before you drill a single hole, walk your yard the way you actually water it. A retractable hose reel earns its keep when it is mounted close to your spigot and pointed toward the parts of the yard you water most, so start there. My spigot sits on the shady side of the potting shed, so I mounted my reel on the wall right beside it, about waist to shoulder height, which keeps the leader hose short and the connection tight instead of straining across a long stretch of siding. If your spigot is on an exposed corner with nothing solid nearby, look for the closest wall, post, or fence section that can take a real mounting bracket, even if it means running a slightly longer leader hose.
Give yourself real clearance too. The reel housing on a unit like this sits out several inches from the wall once it is mounted, and the hose needs a clear, unobstructed path to swing out in whatever direction you pull it. I made the mistake on my first attempt of mounting mine too close to a downspout, and the hose caught the edge of it every time I pulled toward the side yard. Now mine sits with at least two feet of open space on either side, and thanks to the 180 degree swivel bracket, I can pull hose out toward the vegetable garden on one side of the shed or the flower beds on the other without ever repositioning the unit itself.
One more thing worth checking before you commit to a spot: think about winter. If you live somewhere that freezes, you will want to shut off and drain the line before the first hard frost, so pick a spot where you can still easily reach the shutoff valve behind the reel. I learned this the hard way the first November I owned mine, standing on an overturned bucket trying to reach behind a unit I had mounted a little too high and a little too close to a trellis.
Step 2: Mount the Bracket and Get It Truly Level
This step is where patience pays off. You will need a drill, a level, and the mounting hardware that comes in the box, and the specific screws or anchors depend entirely on what you are mounting to. My potting shed has wood siding over solid framing, so I was able to drive lag screws straight into the studs behind the boards. If you are mounting to brick, stucco, or vinyl siding over sheathing, you will need masonry anchors or longer screws that reach solid backing, not just the siding itself. A full reel loaded with 155 feet of hose and water inside it is heavy, close to 30 pounds by my rough kitchen scale test before I even mounted it, so do not trust it to drywall anchors or a couple of screws into thin siding alone.
Hold the bracket up where you want it and mark your holes before you drill anything. Use a level across the top of the bracket, not just an eyeball guess, because a hose reel mounted even slightly crooked will pull the hose off-center every time it retracts, and over months that uneven pull can wear on the internal spring mechanism. Once it is level and the holes are marked, drill your pilot holes, set your anchors if you need them, and drive the mounting screws in firmly but don't overtighten to the point of stripping the wood. Give the bracket a firm tug test with both hands before you hang the reel body on it. It should not budge or flex.
Step 3: Connect the Leader Hose and Check Every Fitting
The short 5 foot leader hose is what actually connects your hose reel to the spigot, and this is the connection most likely to leak if you rush it. Thread the leader hose fitting onto the spigot by hand first to make sure it is going on straight, then finish tightening with a wrench a quarter turn past hand-tight. If your spigot threads look worn or you have had drips there before, wrap a couple of turns of plumber's tape around the threads before connecting. I do this every single season now because a slow drip at that joint is the single most common complaint I hear from other gardeners who switch to a reel and think something is wrong with the unit itself.
Next, check the connection where the leader hose meets the reel's internal swivel joint, and where the main 155 foot hose feeds out through the guide at the bottom of the housing. Turn the water on at the spigot slowly, at about half pressure, and watch every joint for a full minute before you walk away. A drip here or there in the first few minutes usually just means a fitting needs another quarter turn, not a defective part. Once everything runs dry, pull the hose out a few feet and back in once by hand before you use it for real, just to make sure it feeds smoothly through the guide without catching.
Step 4: Set the Any-Length Lock and Test the Slow Return
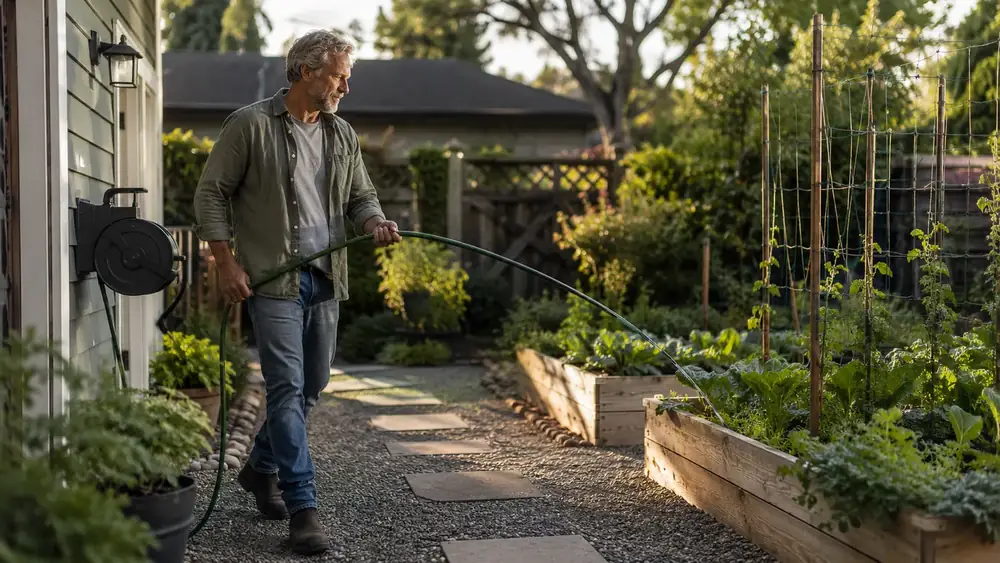
This is the feature that actually ends the tangling, so it is worth learning properly the first time. Pull the hose out to whatever distance you need, say twenty-five feet to reach the porch containers, and give it a short, firm tug in the direction you were pulling. That engages the any-length lock, which holds the hose exactly where you stopped it instead of letting it retract or spool out further. When you are done watering, give the hose another short tug to release the lock, and the reel's slow return system pulls the hose back in at a controlled, even pace instead of yanking it back all at once.
The first time I released the lock, I let go of the hose completely and it startled me a little, even with the slow return system doing its job, because I was still expecting the old whip-back snap from a cheap spring reel I'd used years before. Guide the hose gently with one hand as it retracts for the first few uses until you get a feel for the pace, especially around any garden edging or plant stakes near the reel's path. Once you are used to it, you can let it retract hands-free most of the time, and it will lay itself back into the housing without a single kink, which still gets a little smile out of me every time it happens.
Step 5: Build the Habit of Retracting After Every Use
A hose reel only stays tangle-free if you actually use it the way it is meant to be used, and that means retracting the hose every single time, not just when you remember. It took me about two weeks to break the old habit of dropping the hose wherever I finished watering, but once the reel was mounted right where I naturally end up after watering the beds, retracting it became as automatic as turning off the spigot. Now my grandkids can run through the yard without tripping over a rubber snake in the grass, and Gary can mow the whole side yard without slowing down to steer around anything.
Before you retract for the last time each evening, give the nozzle end a quick shake to knock off any dirt or grass clippings before it feeds back into the housing, since debris pulled into the reel is one of the few things that can eventually gum up the internal mechanism. And if you are in a freeze-prone climate, remember to disconnect the leader hose from the spigot and drain the line fully before the first hard frost. I mark it on my kitchen calendar every year around the second week of November, right next to the note to bring in the porch plants.
What Else Helps
A good hose reel handles the bulk of the tangle problem, but a couple of small extras make daily watering even smoother. A quality adjustable nozzle that clicks solidly into a shutoff position, rather than one that dribbles when you set it down, means you are not fighting a slow drip while you carry it back to the reel. I also keep a spare washer or two in the potting shed drawer for the leader hose connection, since that little rubber ring is the one part that wears out from sun and heat before anything else on the unit does, and it takes thirty seconds to swap once you know where it lives. If your yard has a long, straight run between the reel and a far garden bed, a couple of simple hose guides staked into the ground along that path keep the hose from dragging across mulch or catching on plant stems as it feeds in and out.
A hose that tangles once will tangle again in the exact same spot, forever, until you give it a better place to live.
Give That Tangled Hose a Permanent Home on the Wall
If your hose has spent years piled by the back door the way mine did, mounting a real hose reel is the single change that fixes it for good. The Giraffe Tools Retractable Garden Hose Reel handles 155 feet of hose, locks at any length, and reels itself back in slow and even instead of snapping back at you. Mount it this weekend and every watering trip after this one gets easier.
Amazon Check Today's Price on Amazon →