
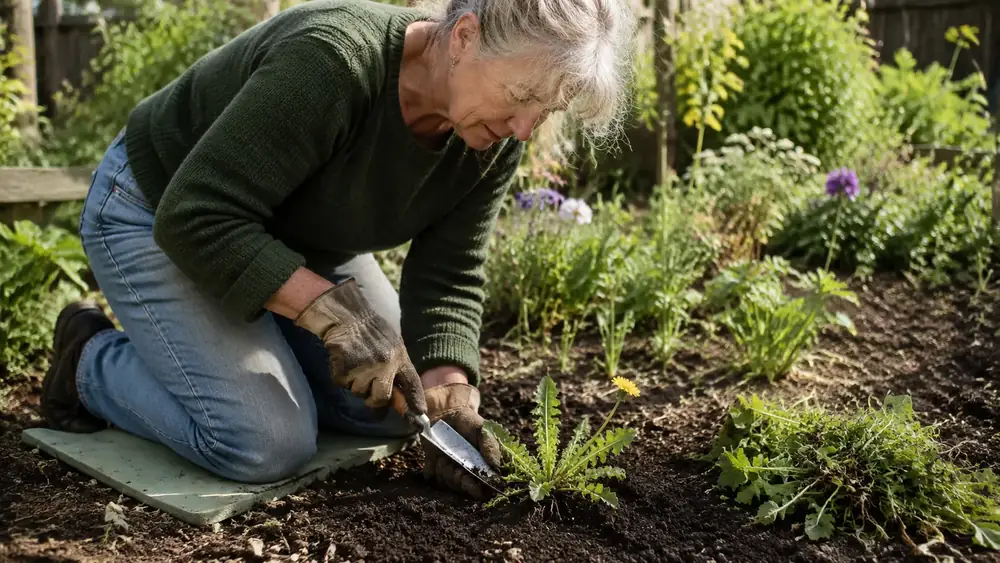
Every gardener has a bed like mine along the south fence, the one where dandelions and curly dock keep coming back no matter how many times you yank the tops off. I fought that bed for two seasons with a regular trowel before I understood the actual problem. I wasn't losing to the weeds. I was leaving their roots in the ground every single time, snapping the top off at the crown while six inches of taproot sat undisturbed just below, ready to send up a fresh rosette within a couple weeks. What finally broke the cycle for me was a PERWIN hori hori knife, the one with the seven inch serrated stainless blade and the walnut handle, and I want to walk you through exactly how I use it to get deep-rooted weeds out whole instead of fighting the same plant three times a summer.
Most people get pushed toward one of two options when a bed fills up with stubborn weeds. Spray it with an herbicide and hope it doesn't drift onto the tomatoes six feet away, or grab a regular trowel and yank until something gives, which is usually the top of the plant, not the root. Neither one actually solves a deep taproot. A hori hori changes the math because the blade is long enough and sturdy enough to follow a root straight down instead of scraping at the surface, and that's the whole difference between a weed that's gone for good and one that's back by the weekend.
It also matters that this is one tool doing a job that usually takes two or three. Before I switched over, my weeding bucket had a trowel, a dandelion fork with the forked notched tip, and a soil knife I never trusted enough to push hard with. The hori hori replaced all three, mostly because the blade is stiff enough to pry like a dandelion fork but narrow enough to slide down a root channel like a soil knife, with a serrated edge for the surface roots a plain trowel can't touch at all.
Stop Snapping Weeds Off at the Crown
A regular trowel is built for scooping, not following a root down. The PERWIN hori hori knife has a seven inch full-tang stainless steel blade with a serrated edge on one side for cutting through roots and sod, depth markings etched right into the metal, and a walnut handle that won't blister your palm on a long weeding session. It comes with a sheath too, so it's not rattling loose in your tool bucket getting the edge dulled.
Amazon Check Today's Price on Amazon →Step 1: Read the Weed Before You Dig
Not every weed roots the same way, and knowing which kind you're dealing with changes how you approach it. Dandelion and curly dock send down a single thick taproot, often eight to twelve inches on an established plant, tapering like a carrot. Thistle roots similarly but tends to branch lower down. Bindweed and quackgrass are a different animal entirely, spreading sideways through rhizomes just under the surface, and pulling one spot barely dents the network running under the whole bed. The hori hori works on both, but your technique shifts depending on which one is in front of you.
For taproot weeds like dandelion and dock, look at where the leaves meet the ground. That's your target point, directly above the crown where the root starts. For spreading weeds like bindweed, you're going to be tracing the blade sideways along a runner rather than straight down, following it back to where it connects to the main root before you cut.
Water the bed the evening before if you can, or wait a day after rain. Dry, compacted soil grips a root tight and makes even a good blade work twice as hard, and you're more likely to snap the root under tension instead of sliding it free. Damp soil, not soaked, lets the hori hori's narrow blade slip down alongside the root with a lot less resistance.
Take a second to notice the soil type you're working in too. A raised bed with loose, amended soil lets the hori hori's blade glide down with almost no resistance, and a full taproot often lifts on the first try. Compacted clay along a fence line or a path edge is a different job entirely, and I've learned to expect two or three insertion points instead of one whenever I'm working a weed that's rooted in that kind of ground. Knowing which bed you're standing in before you start saves you from getting frustrated halfway through and yanking early.
Step 2: Score a Circle Around the Root With the Serrated Edge
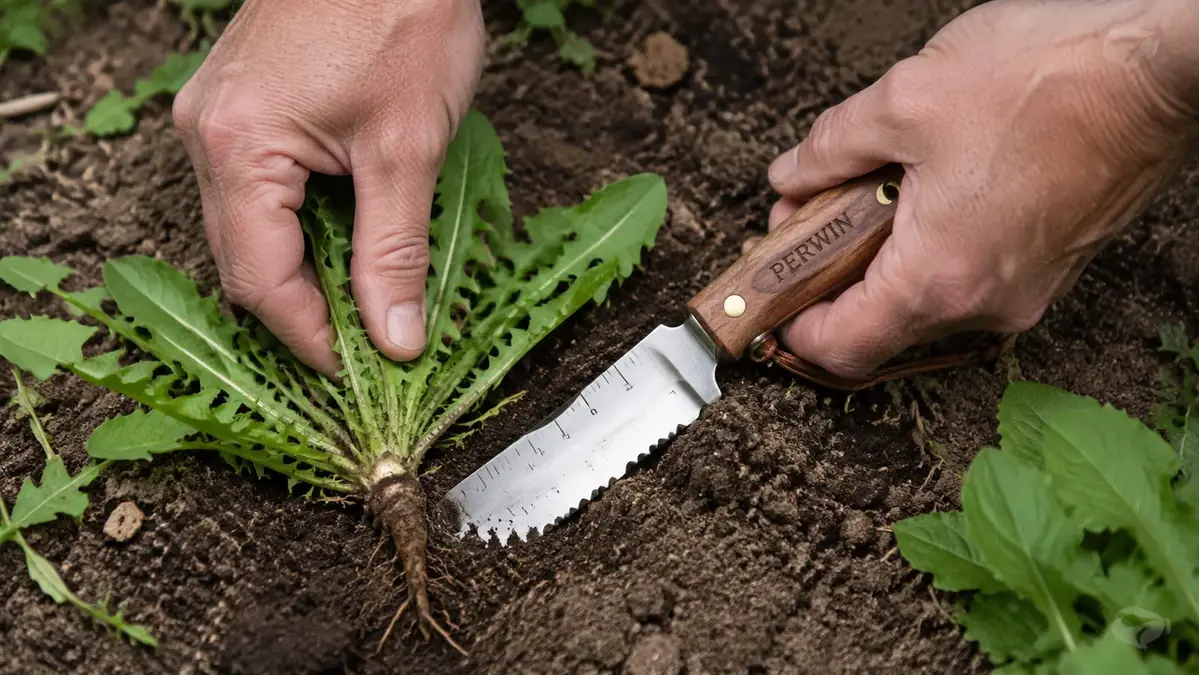
Center the blade about an inch out from the base of the weed and press the serrated edge into the soil, working it in a circle around the plant. You're cutting through the top layer of fibrous roots and any grass roots that have grown into the same patch of ground, which is what usually makes a weed feel stuck even before you've touched the taproot itself. I do this in short sawing strokes rather than trying to force the blade straight down in one push, since the serration is doing the cutting, not the tip alone.
This is the step people skip when they're in a hurry, and it's the one that saves your wrist. Skip the scoring cut and you're fighting the surrounding root mat the entire way down, which is how a taproot ends up snapping instead of lifting clean. Take the extra fifteen seconds to circle it first.
On dandelion specifically, I angle the blade slightly inward as I circle, aiming toward the center of the root rather than straight down, so the cut narrows the deeper it goes. That keeps you from accidentally severing the taproot too far up and leaving the lower half behind, which is exactly what happens with a flat trowel that can't angle at all.
For dock and thistle, widen that circle out to two inches instead of one, since both tend to have a broader crown with several growth points close together. Cutting too tight risks nicking a healthy point you actually want to keep intact if it's a plant you're transplanting rather than removing, and it also risks the blade skating off the crown instead of sinking into loosened soil next to it.
Step 3: Drive the Blade Straight Down Beside the Taproot
Once you've scored the circle, pick a spot right next to the crown and drive the blade straight down alongside the root, following it as deep as it goes rather than as deep as the blade happens to be. The depth markings etched into the steel are genuinely useful here, since you can glance down and see you're four inches in on a root that's clearly going deeper, instead of guessing. On a mature dock plant in my bed, I've gone the full seven inches of the blade and still felt root below it.
Push straight down, not at an angle, on this pass. The goal is to run the blade parallel to the taproot so you're loosening the soil packed against it on all sides, not slicing across it. If you feel the blade hit something firm and unyielding that isn't giving way, that's usually the root itself, and it means you're close enough to switch to prying rather than pushing deeper.
For thistle, where the root often branches a few inches down, do this same straight plunge on two or three sides of the plant rather than just one, since a single insertion point may miss a branch entirely and leave it behind to resprout.
Step 4: Rock the Handle to Loosen the Full Root System
With the blade sunk in alongside the root, use the handle as a lever. Rock it forward and back in small movements, walnut handle held low near the soil line so you're getting leverage instead of just wrist strength. You'll feel the ground around the root start to give, small cracks opening up in the soil surface as the root ball loosens its grip. This is where the full-tang construction earns its keep, since a blade that isn't one solid piece of steel through the handle will flex or twist under this kind of lateral pressure instead of transferring the force down to the root.
Work the handle side to side a few times, then repeat the straight-down plunge from step three at a slightly different angle, an inch or two further around the root. Two or three insertion points around a stubborn taproot loosens far more of the surrounding soil than one deep stab ever will, and it's the difference between a root that lifts free and one that snaps two inches down.
If the handle is rocking but the root still isn't giving at all after several passes, stop and check for a rock or a buried root from a nearby shrub crossing the path, which happens more often than you'd think in an established bed. Forcing the handle sideways against something that isn't the weed's own root is how a handle eventually loosens at the tang, even a full-tang one, so it's worth the extra thirty seconds to dig a small check hole with the tip before you keep rocking.
Step 5: Pull Slow and Steady, Then Check the Root Came Out Whole
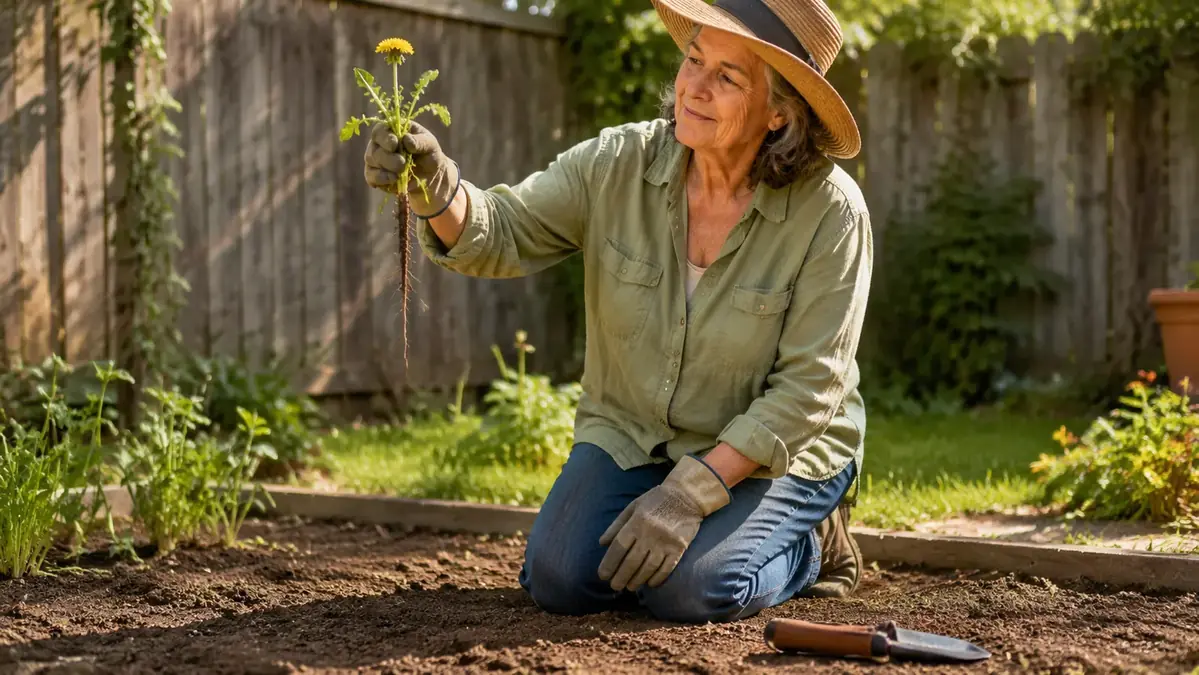
Once the soil around the root feels loose, grip the plant low near the crown, not by the leaves, and pull straight up in one slow, steady motion. Resist the urge to yank. A fast jerk is exactly what snaps a partially loosened taproot, and it's the same mistake that got me nowhere with a plain trowel for two seasons. Slow and steady lets the root slide up through the loosened channel instead of tearing against soil that's still gripping it somewhere lower down.
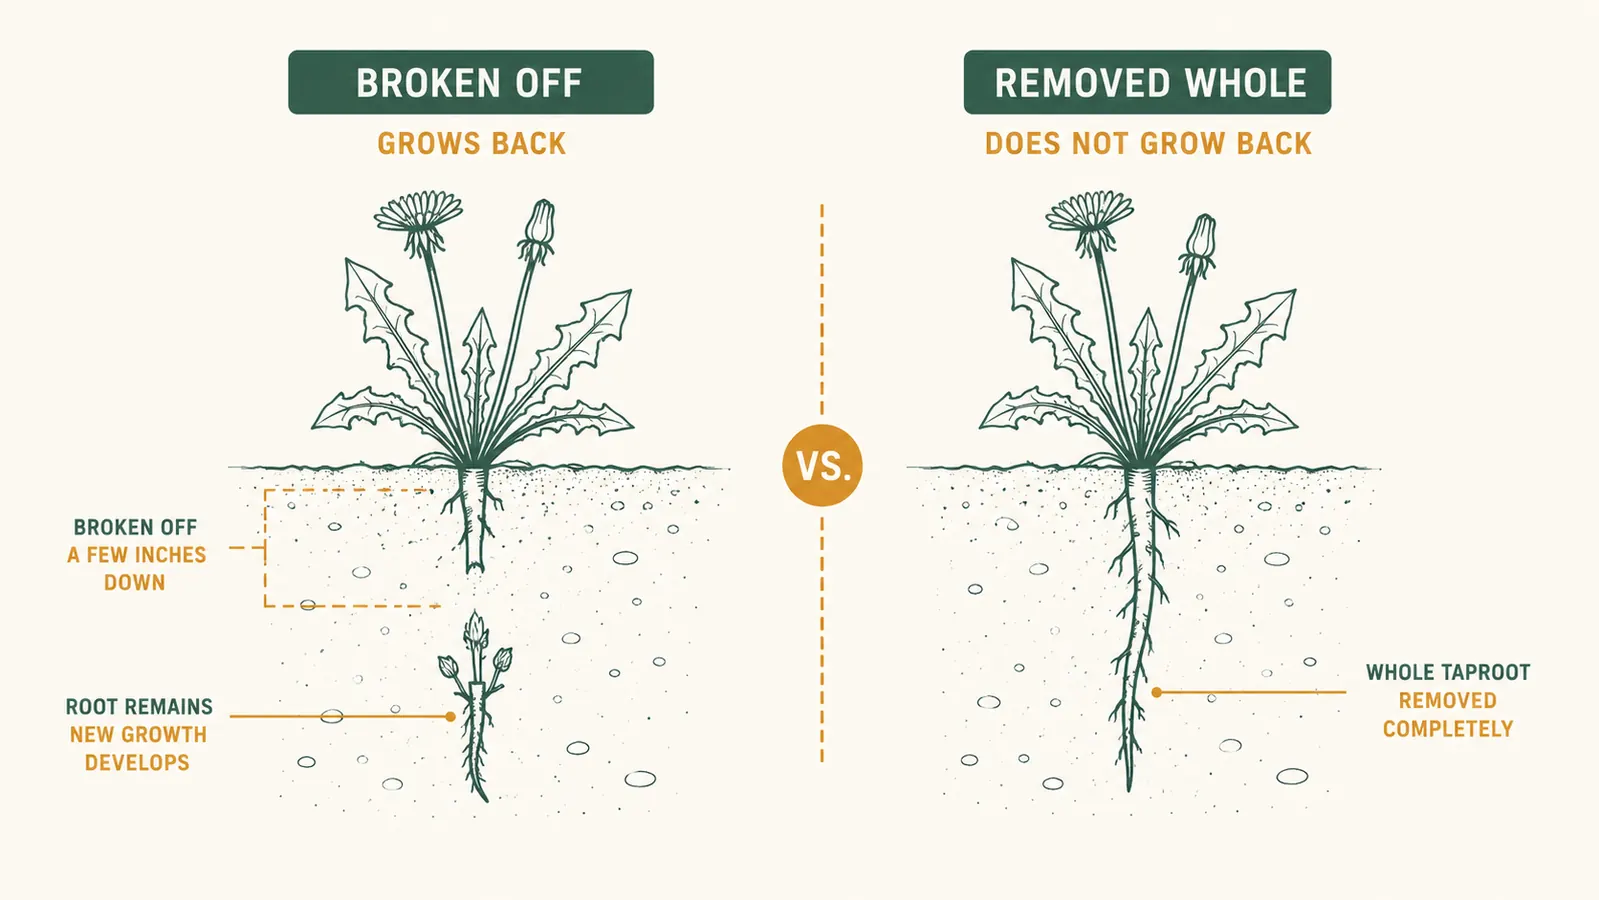
Once it's out, actually look at it. A clean pull ends in a tapering point, thin and whole, not a blunt broken edge. If the root looks snapped off flat, there's still a piece down there that can regrow, and it's worth working the blade back into that same hole to see if you can find and remove the remainder before you move on. I keep a small bucket next to me in the bed specifically for pulled roots, both so I'm not leaving broken pieces scattered where they can resettle, and so I get a quick visual read on how many came out clean versus broken as I work down a row.
A dandelion top pulled off at the crown isn't a weed removed. It's a weed you'll be looking at again in ten days, just a little more annoyed than the first time.
What Else Helps
The hori hori does the heavy lifting on deep-rooted weeds, but a few habits make the results stick. Go after weeds before they flower and set seed whenever you can, since one missed dandelion gone to seed restocks the whole bed for next year regardless of how clean your technique is on the ones you did catch. After a hard rain is genuinely the easiest window to work in, so I try to plan a weeding pass for the day or two after a good soaking rather than fighting dry, compacted soil on a whim. For spreading weeds like bindweed that run through the bed on rhizomes, don't expect one pass with any tool to finish the job. I go back over the same patch every couple weeks through the spring, since a rhizome network this extensive gets weaker each time you interrupt it, even when you can't remove all of it at once. And rinse the blade off before it goes back in the sheath. Wet soil left caked on stainless steel overnight is how a good serrated edge starts to pit, and a dull hori hori turns every one of these steps back into the same fight you started with.
Keep an eye on the bed for the next few weeks after a big weeding pass, too. Any root fragment left behind, even a small one, usually shows itself within ten to fourteen days as a small new rosette of leaves right at soil level. Catching that early, while it's still a seedling-sized regrowth and not a re-established taproot, takes the hori hori's tip and thirty seconds, instead of another full dig later in the season. I walk my beds every Sunday morning for exactly this reason, coffee in one hand, hori hori in the other.
Get the Roots Out Instead of Just the Tops
If you're tired of watching the same dandelion patch come back every two weeks, a regular trowel isn't the tool that fixes it. The PERWIN hori hori knife's serrated edge, seven inch depth, and full-tang steel handle gives the leverage a deep taproot actually needs, and the sheath keeps the blade sharp between uses instead of dulling loose in a bucket.
Amazon Check Today's Price on Amazon →